Why is it useful?
The “Tables” tab on your Evenium platform allows you to create a seating plan for sub-events. With this tool, you can visually organize guest seating, distribute participants among different tables, and adjust the configuration according to your needs. This tool facilitates assignment management and limits errors on the day of the event.
Table management allows you to manage your event's seating plan, including quota issues.
How does it work?
1- Set up the form
2- Configure the question
3- Create and assign tables
4- Export assignments
1. Set up the form
In “Configuration – update registration form”:

Add the question “Activities” from the predefined templates.

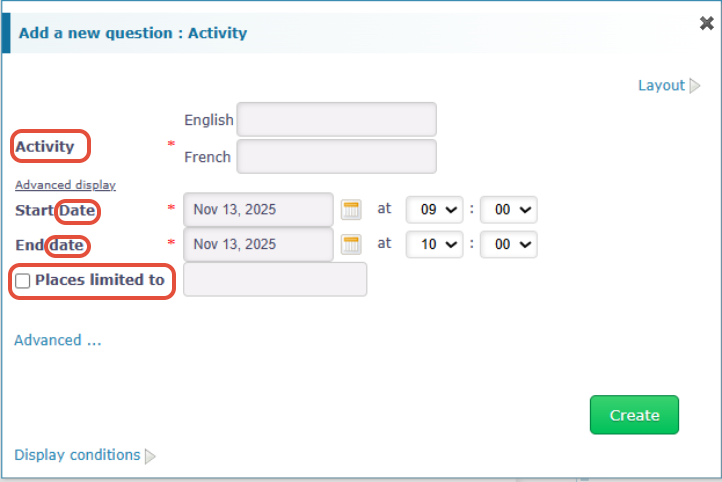
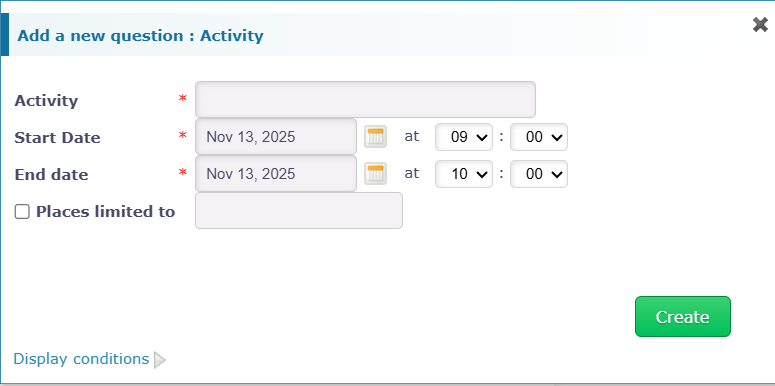
When you add the question, this window opens: it allows you to configure your “Activities”
Choice of question type:

2. Question setup
Your question is of type Yes / No:
This type of question is recommended for participation in a dinner and therefore for table management..
Set the name of the activity, its dates, and its quota.
Once the quota is reached, guests will no longer be able to register for this activity.
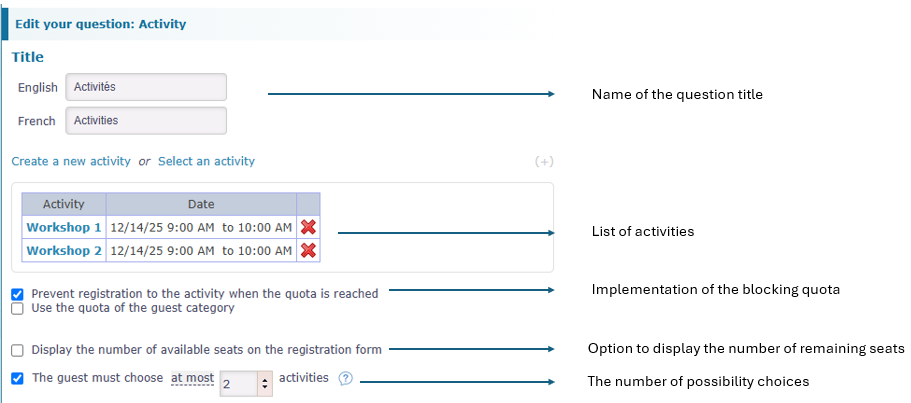
If your question is a list of activities:

This choice is recommended for participation in multiple workshops, activities, etc.
Define the title of the question (its header message), then create a new activity or select one from the existing list:
Creation of the activitie :
Activity selection:

Remarks: It is not possible to have the same activity twice in the form.
Your activities are now created, you must configure the question:
Your form is ready; your participants begin to register.
After setting up the question in the form, go to the “Logistics” tab, “Sub-events” to set up table management for your activities. You can create a seating plan for each activity.

Click on the name of the created activity:

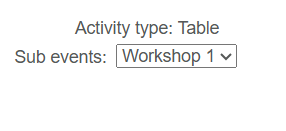
Click on “Advanced…” This window opens:

This window opens:
Enable table management by checking this box :

3. Table creation and assignment
After setting up your Activity question and enabling table management for each activity, you can proceed to create your various tables:
 In “Logistics,” ‘Tables’: Select the sub-event (example., “Dinner”) for which you want to create tables:
To create a table, click on:

This window opens: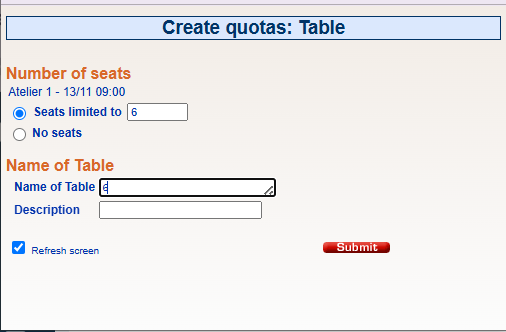
You can then set a quota for the table.
If you want to create several tables in a single operation, with the same number of guests, for example three tables of ten people, proceed as follows:
Click on the “Add” button.

The tables created then appear as follows:
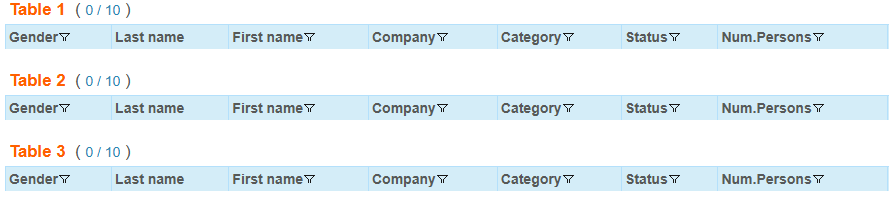
You can then see all participants who have confirmed their attendance at the sub-event related to the seating plan (e.g., confirmation for a dinner).
You can modify the title and description of the table if you wish by clicking on the table name:


After configuring your table management, you can assign your participants to the corresponding tables:
In “Logistics” then ‘Tables’: you will find the list of guests registered for activities using table management. These participants appear under the “No Table” tab because they are waiting to be assigned a table.


The participant will then be assigned to their table and will appear under the table to which they have been assigned.
4. Export assignments
You can export the list of participants in the seating plan by clicking the button:

Remarks: don’t forget to insert quotas on your tables. Participants cannot be assigned to tables without quotas.